
Reports contain key data about your company’s trips, drivers, customers, operators, and payments. This guide explains how to create, manage, and download them.
Types of Reports
Orders Report
Drivers Report
Clients Report
Operators Report
Payments Report
Drivers Transactions Report
Billing History Report
How to Generate a Report
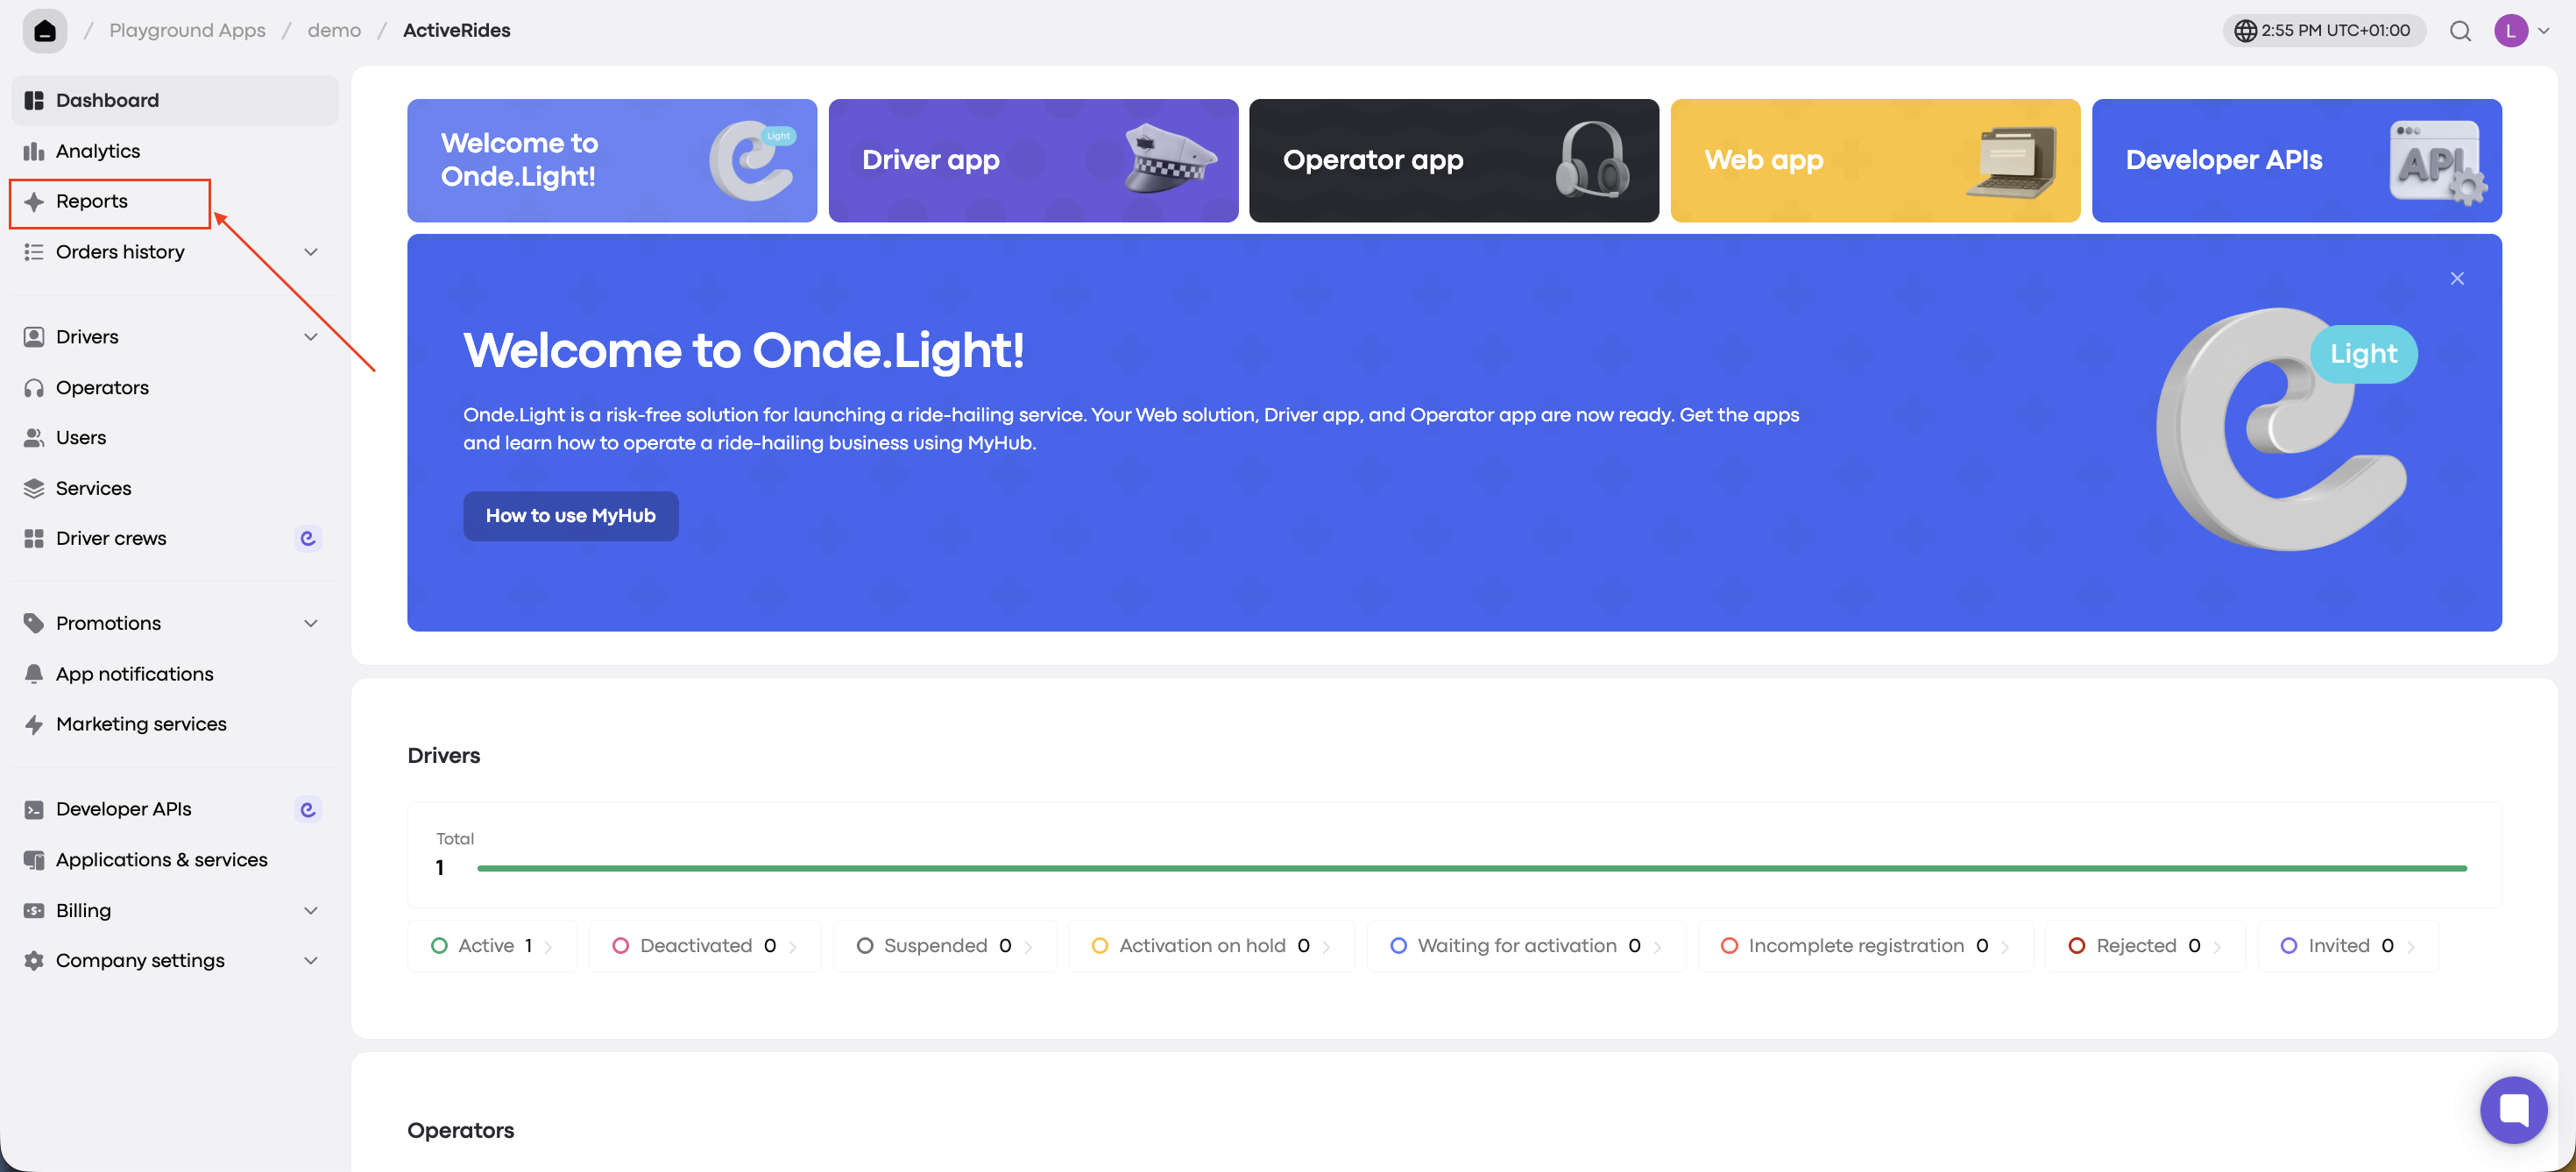
Go to the Reports tab in My hub.
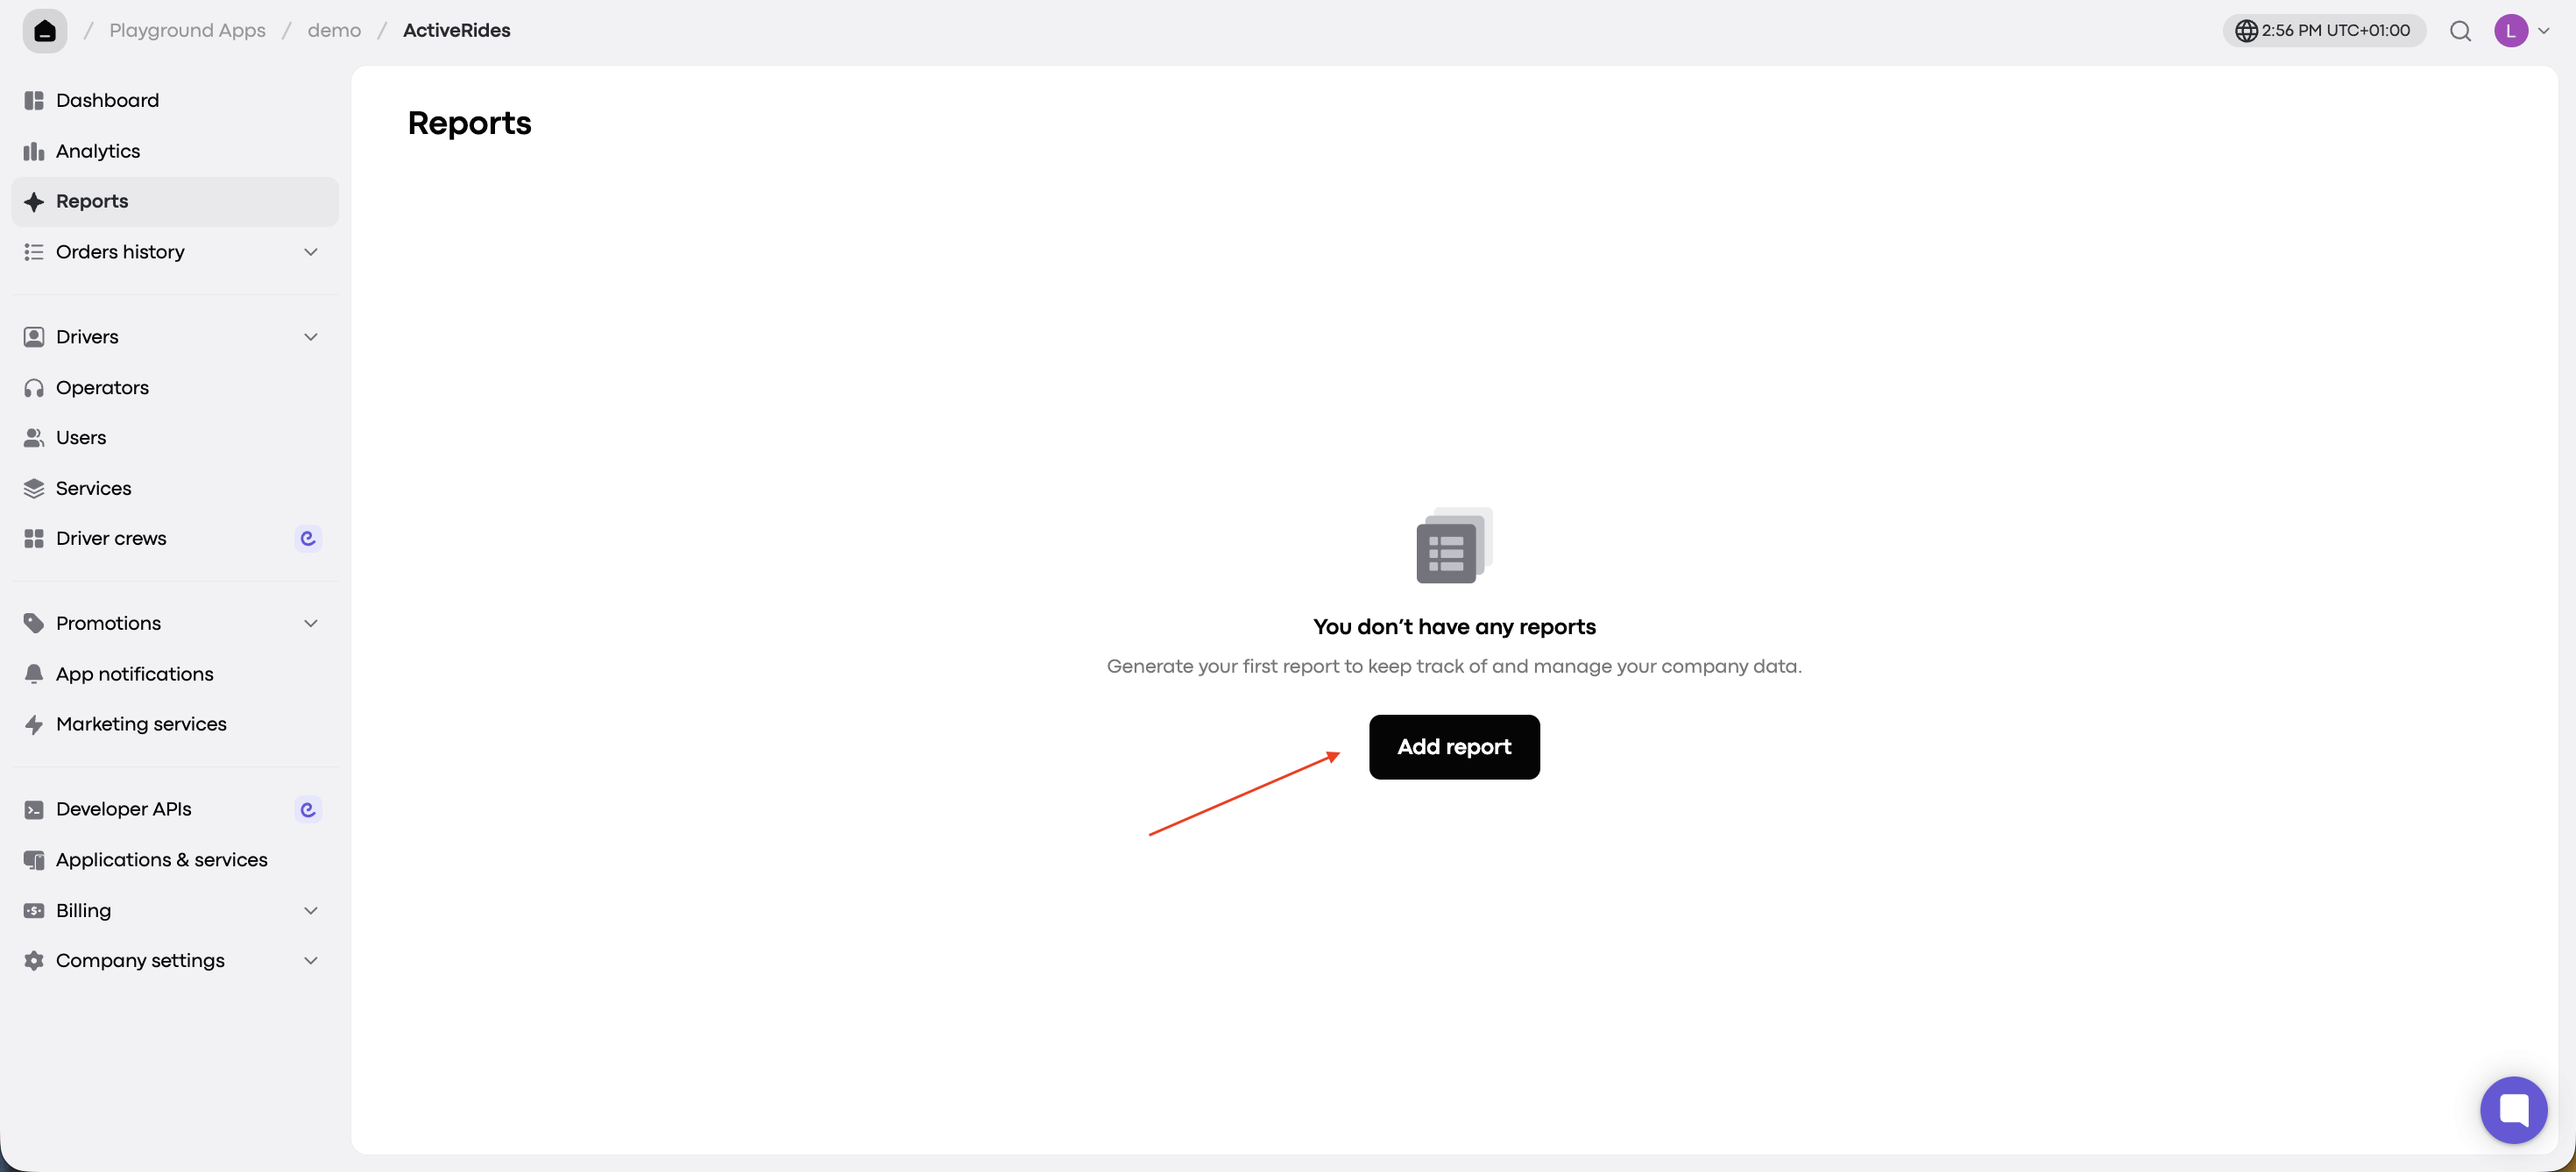
Click Add report.
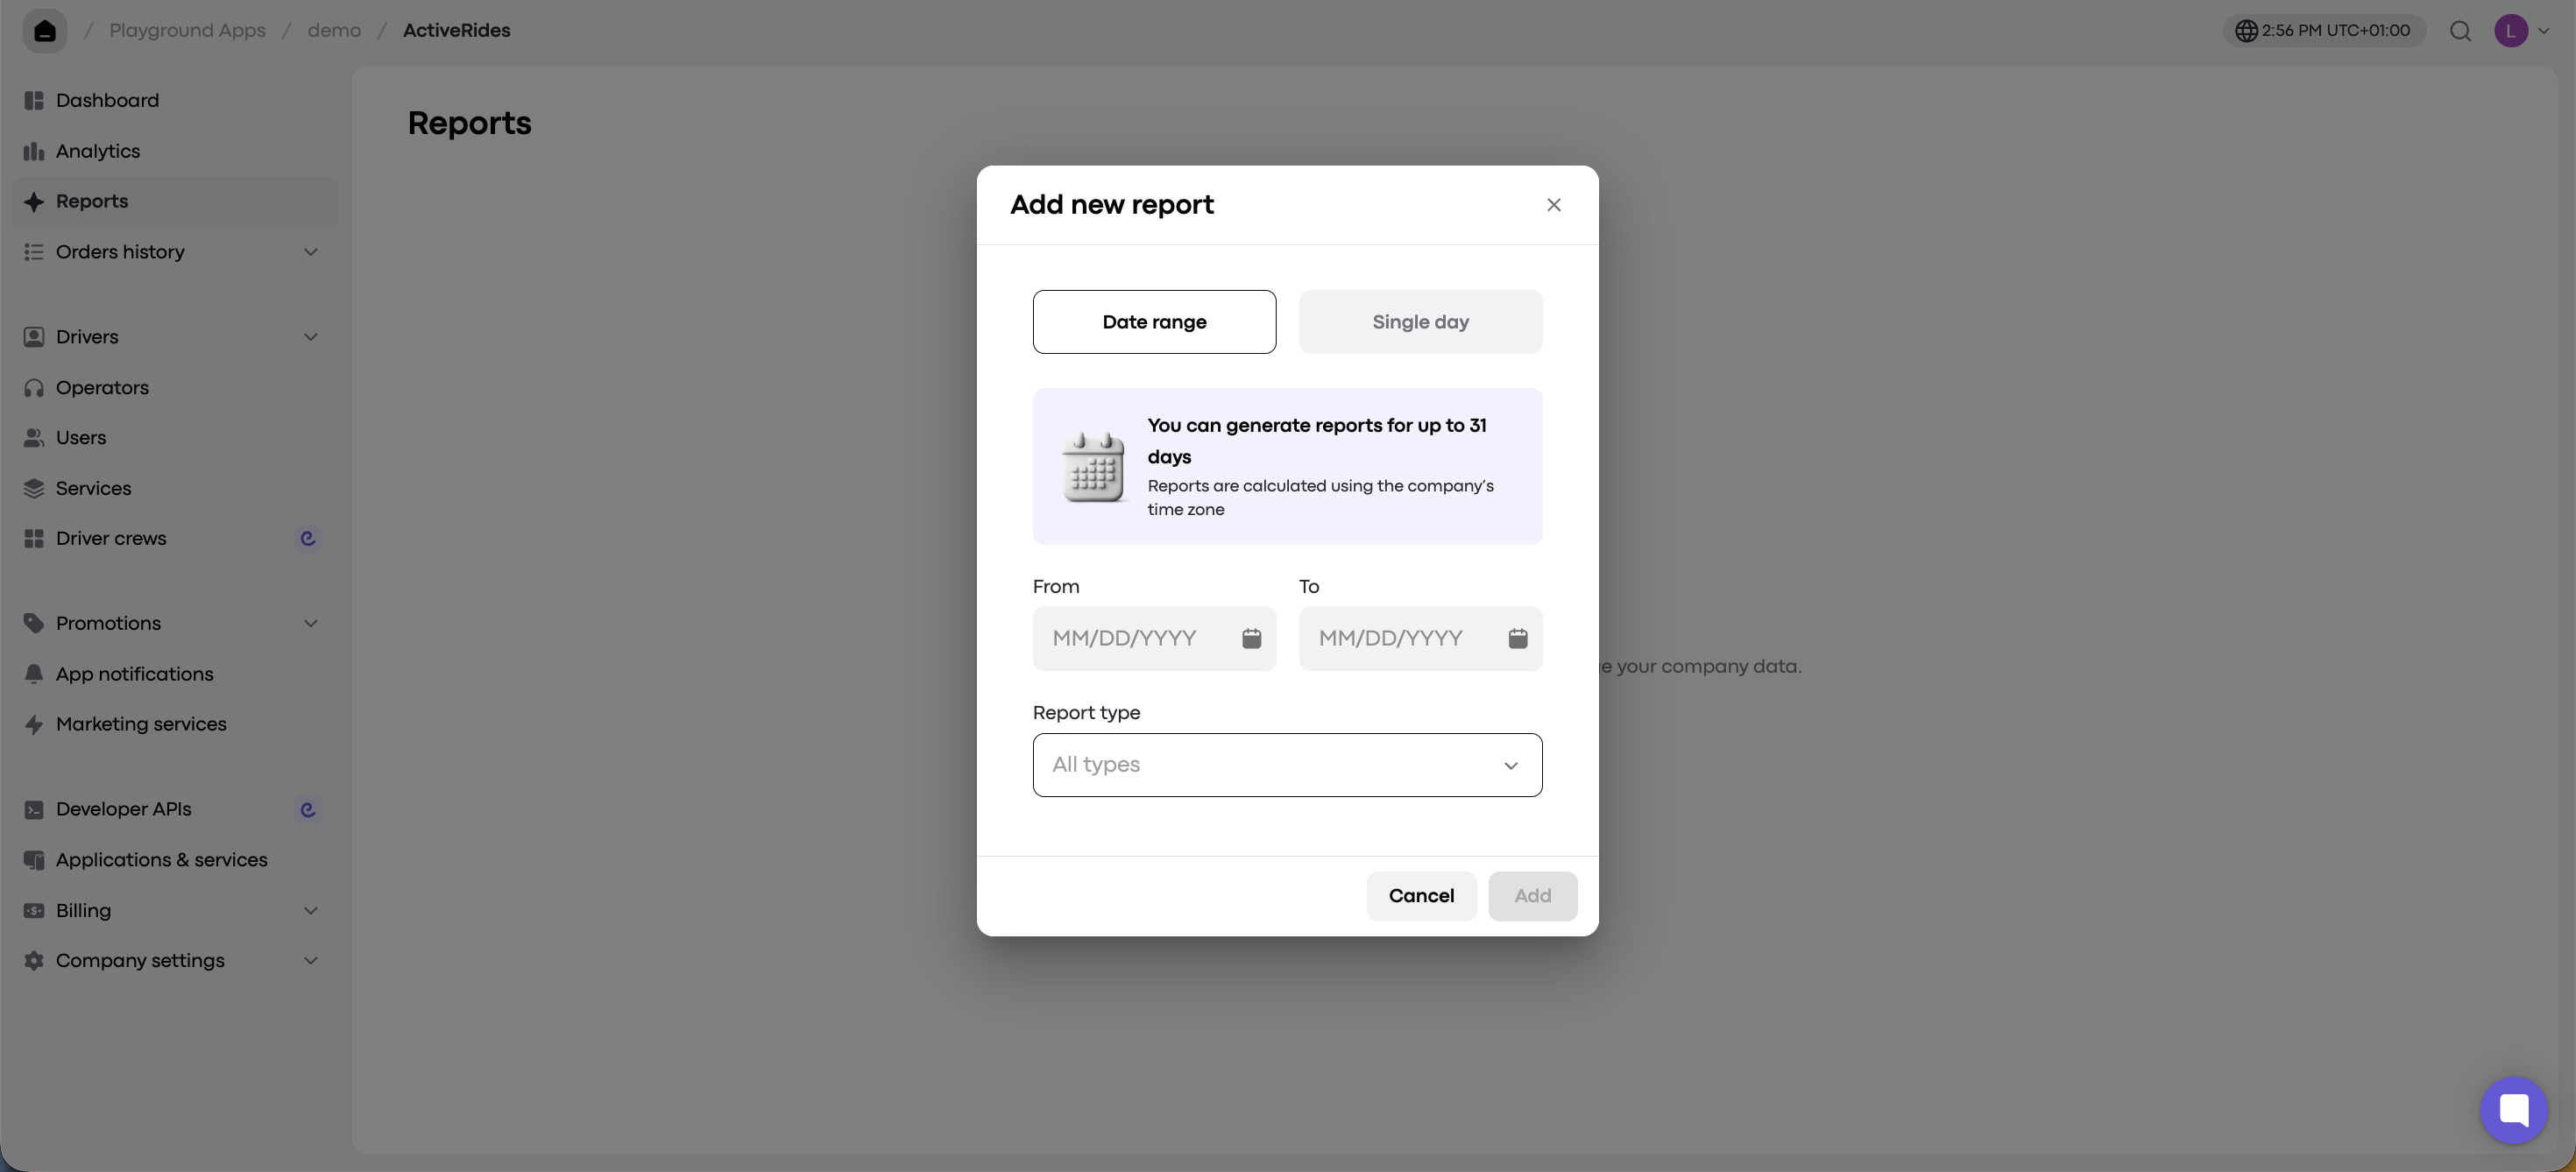
Choose the date range and report type(s), then click Add to submit your request.
Once added, the report appears with the status New. Wait a few moments, then click Refresh. The status changes to Completed when the report is ready.
If you created a report by mistake, you can cancel it.
How to Download a Report
You can download completed reports in two ways:
Direct download: saves the report as a CSV file, which you can open in Excel.
Upload to Google Drive: exports the report to a connected Google account, so you can view it in Google Sheets or Excel.